

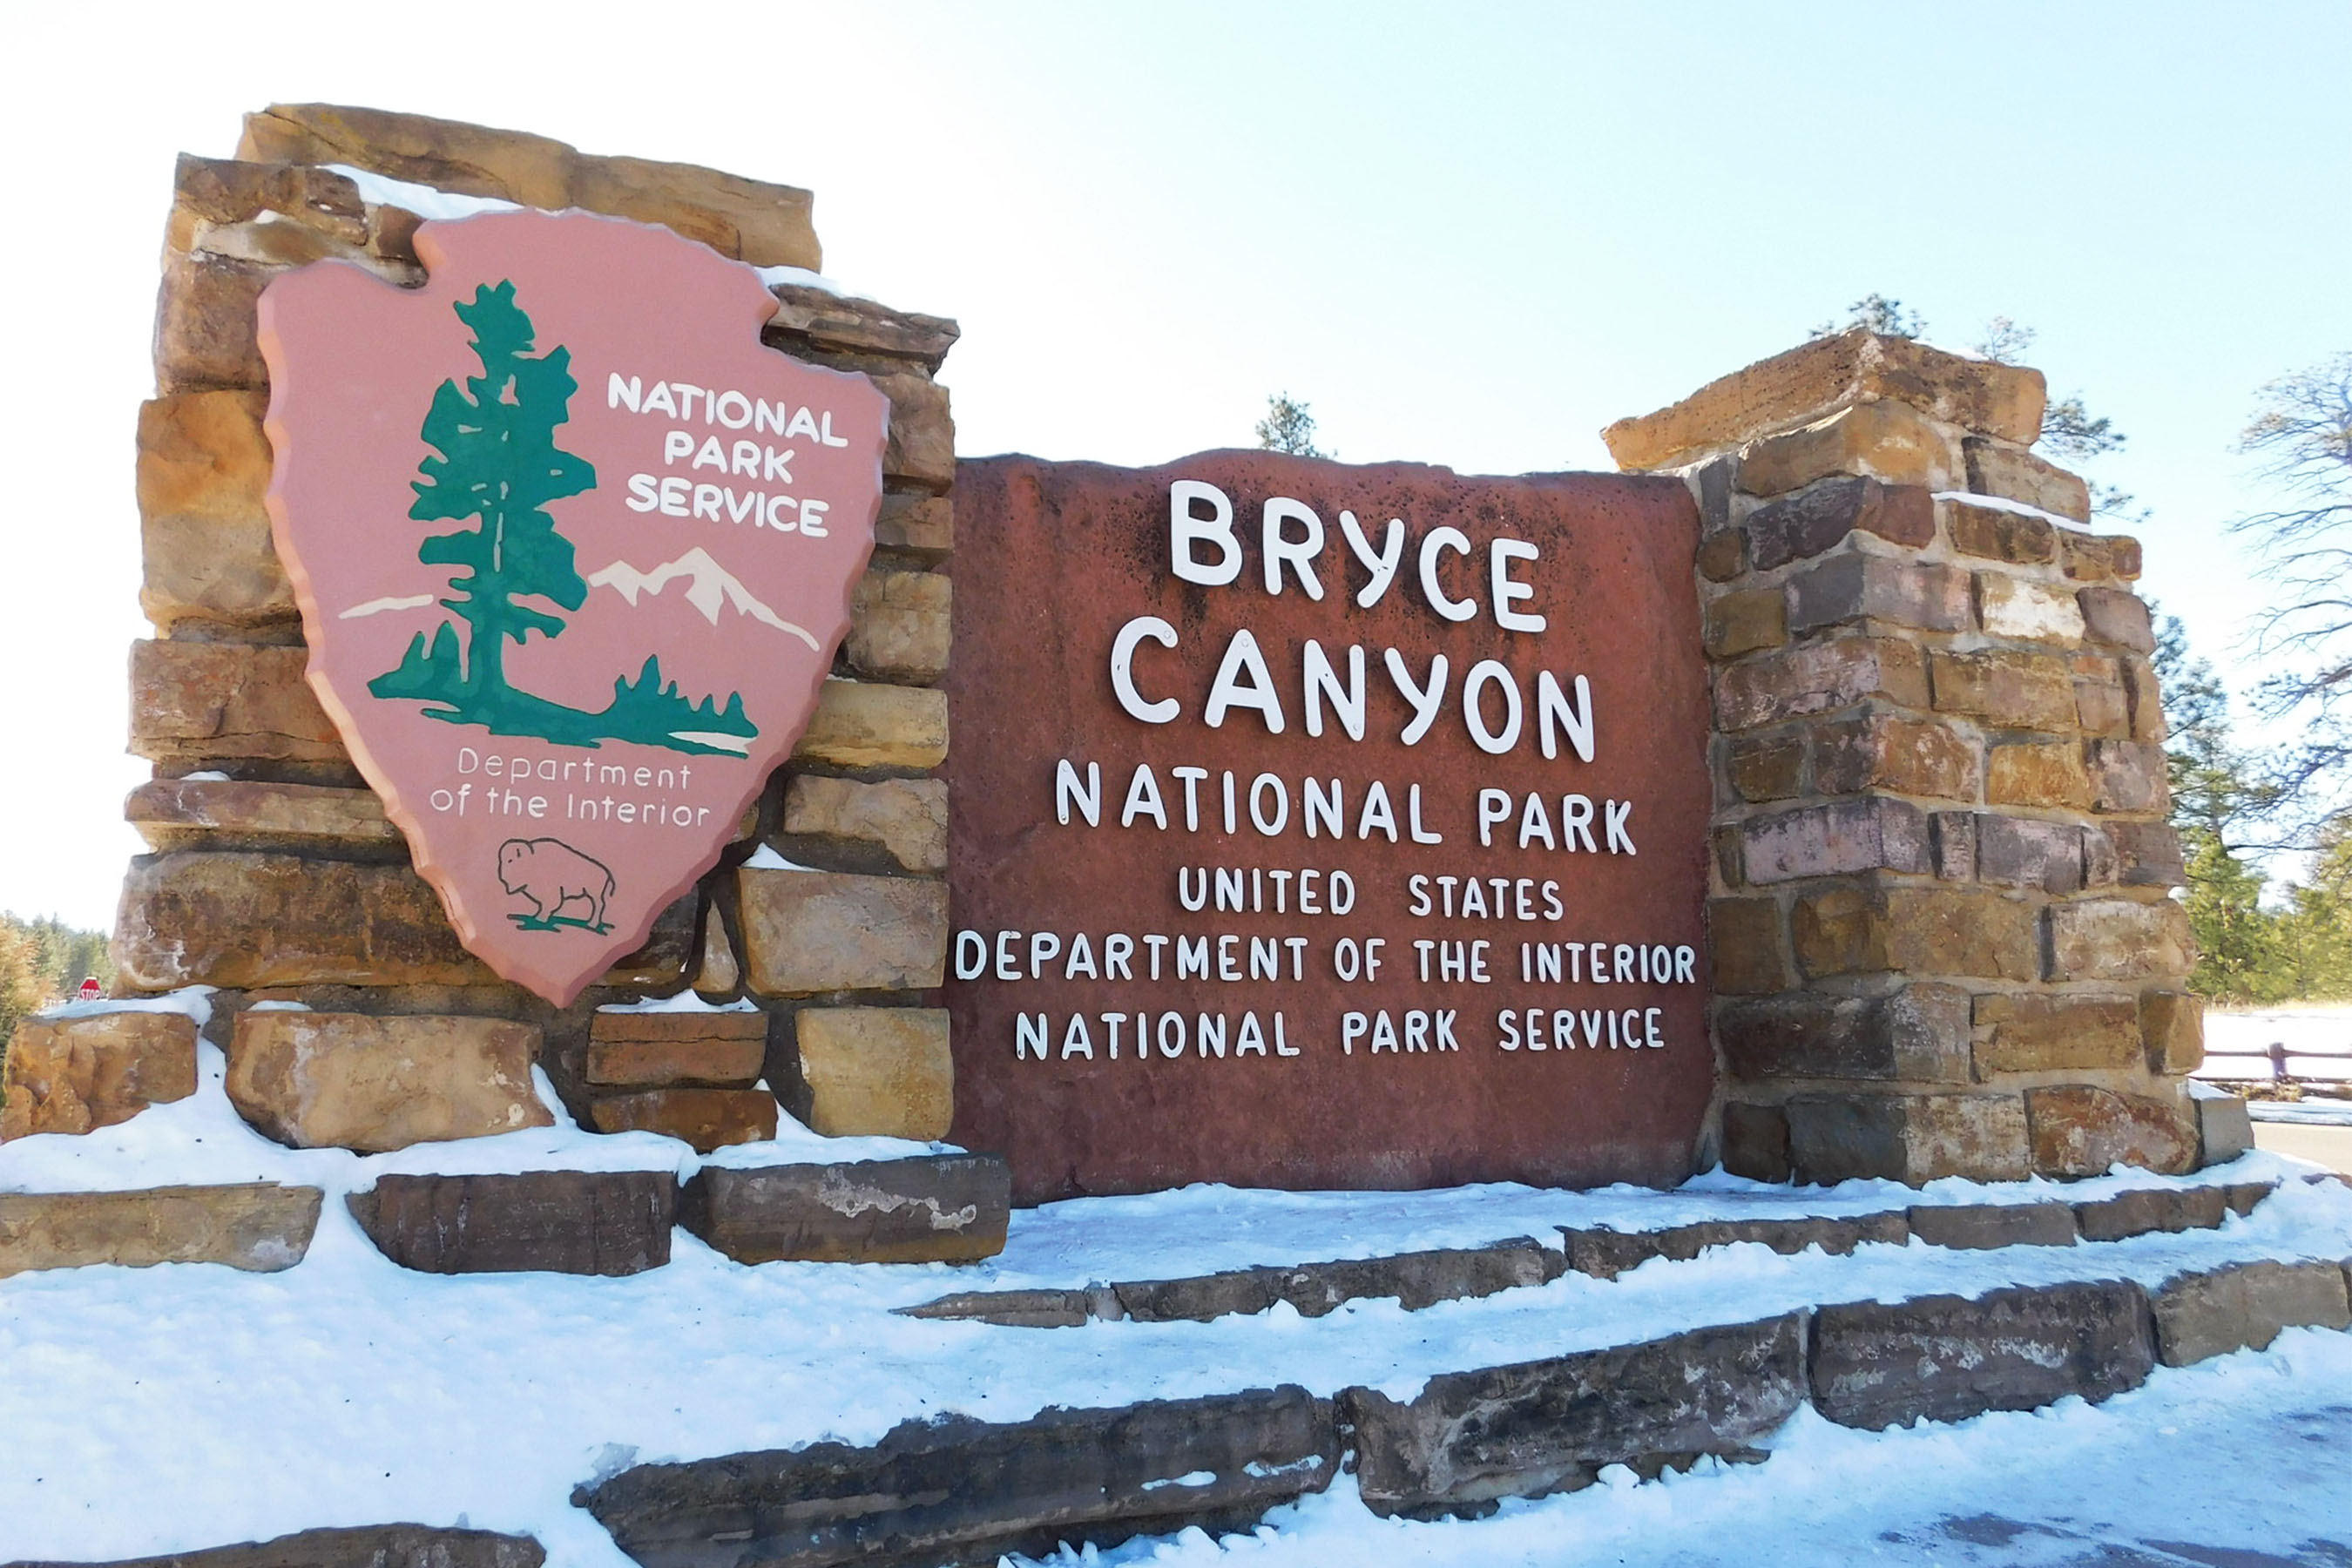
When I approached the entrance to Bryce Canyon National Park last spring, my heart sank. The line of cars was so long that I couldn’t see the entry gate. Once I finally got in, finding a parking space took another solid hour. I had planned a 32-mile backpacking trip through the park, and was concerned that the crowds would spoil my dreams of peace and solace in the backcountry.
After I set off on my hike, however, about 2 miles in, everyone else faded away. I was able to enjoy the striking rock formations and landscapes all by myself. By combining the Under the Rim (23 miles) and Riggs Spring Loop Trail (9 miles), I got to see the park’s best sites on my hike, without the crowds. Here’s what you need to know to embark on one of the best backpacking trips in Utah.
Highlights of Bryce Canyon National Park
This Utah national park has one main road, State Road 63, that traverses through 18 miles of the park. Most visitors follow this scenic drive, pulling off occasionally for scenic viewpoints or short day hikes. With almost 2 million visitors last year, this thoroughfare easily gets congested during holidays and the busy summer season.
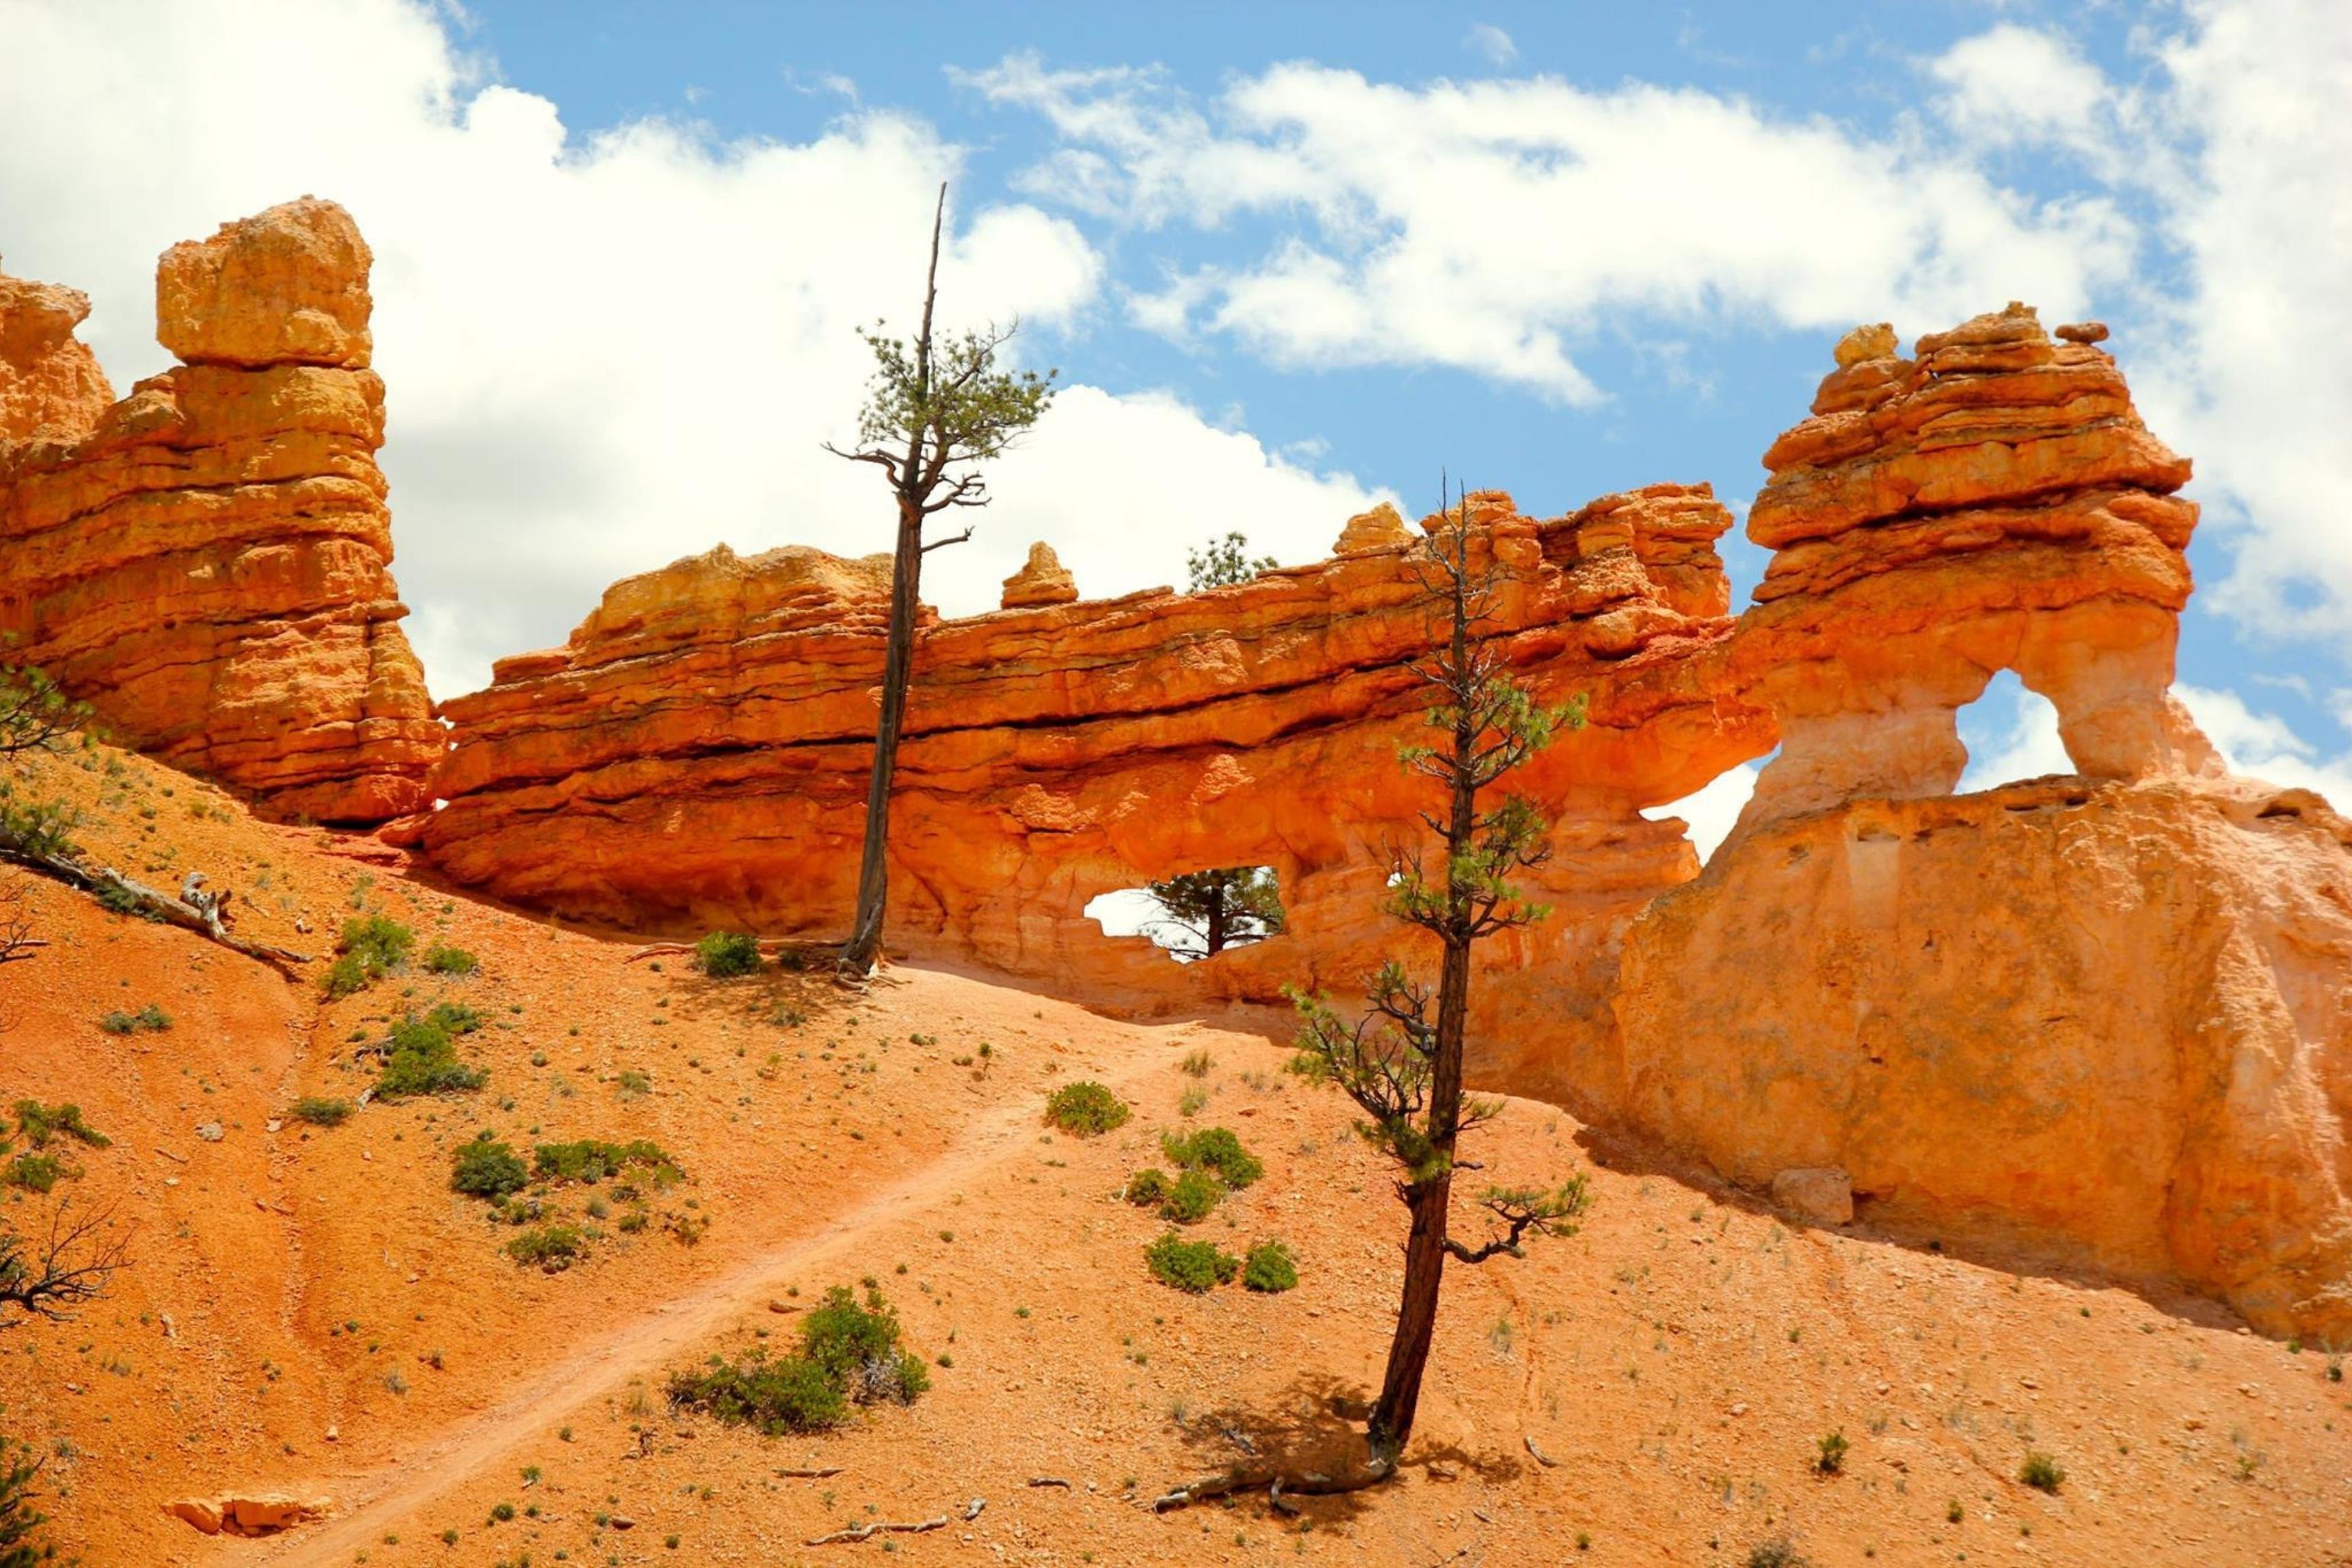
This backpacking itinerary, however, lets you see the same sites from a different perspective and without the lines. Bryce Canyon is famous for its hoodoos, tall, thin rock spires with unusual shapes and striated shades of red and orange. Erosion, rain, and time created these unique features, which range from mushroom-like formations to wavy chimneys.
These 32 miles have no shortage of hoodoos, including the well-known “hat shop” area.
On the trail, you’ll also get to experience impressive vistas of another nearby Utah gem. Grand Staircase–Escalante National Monument is only 20 miles from Bryce Canyon, and the trail frequently takes you to scenic views of this iconic set of steep cliffs and deep canyons. The hike ends at two of the most scenic viewpoints in the park, Rainbow Point and Yovimpa Point, for breathtaking views of ravines and ridges.
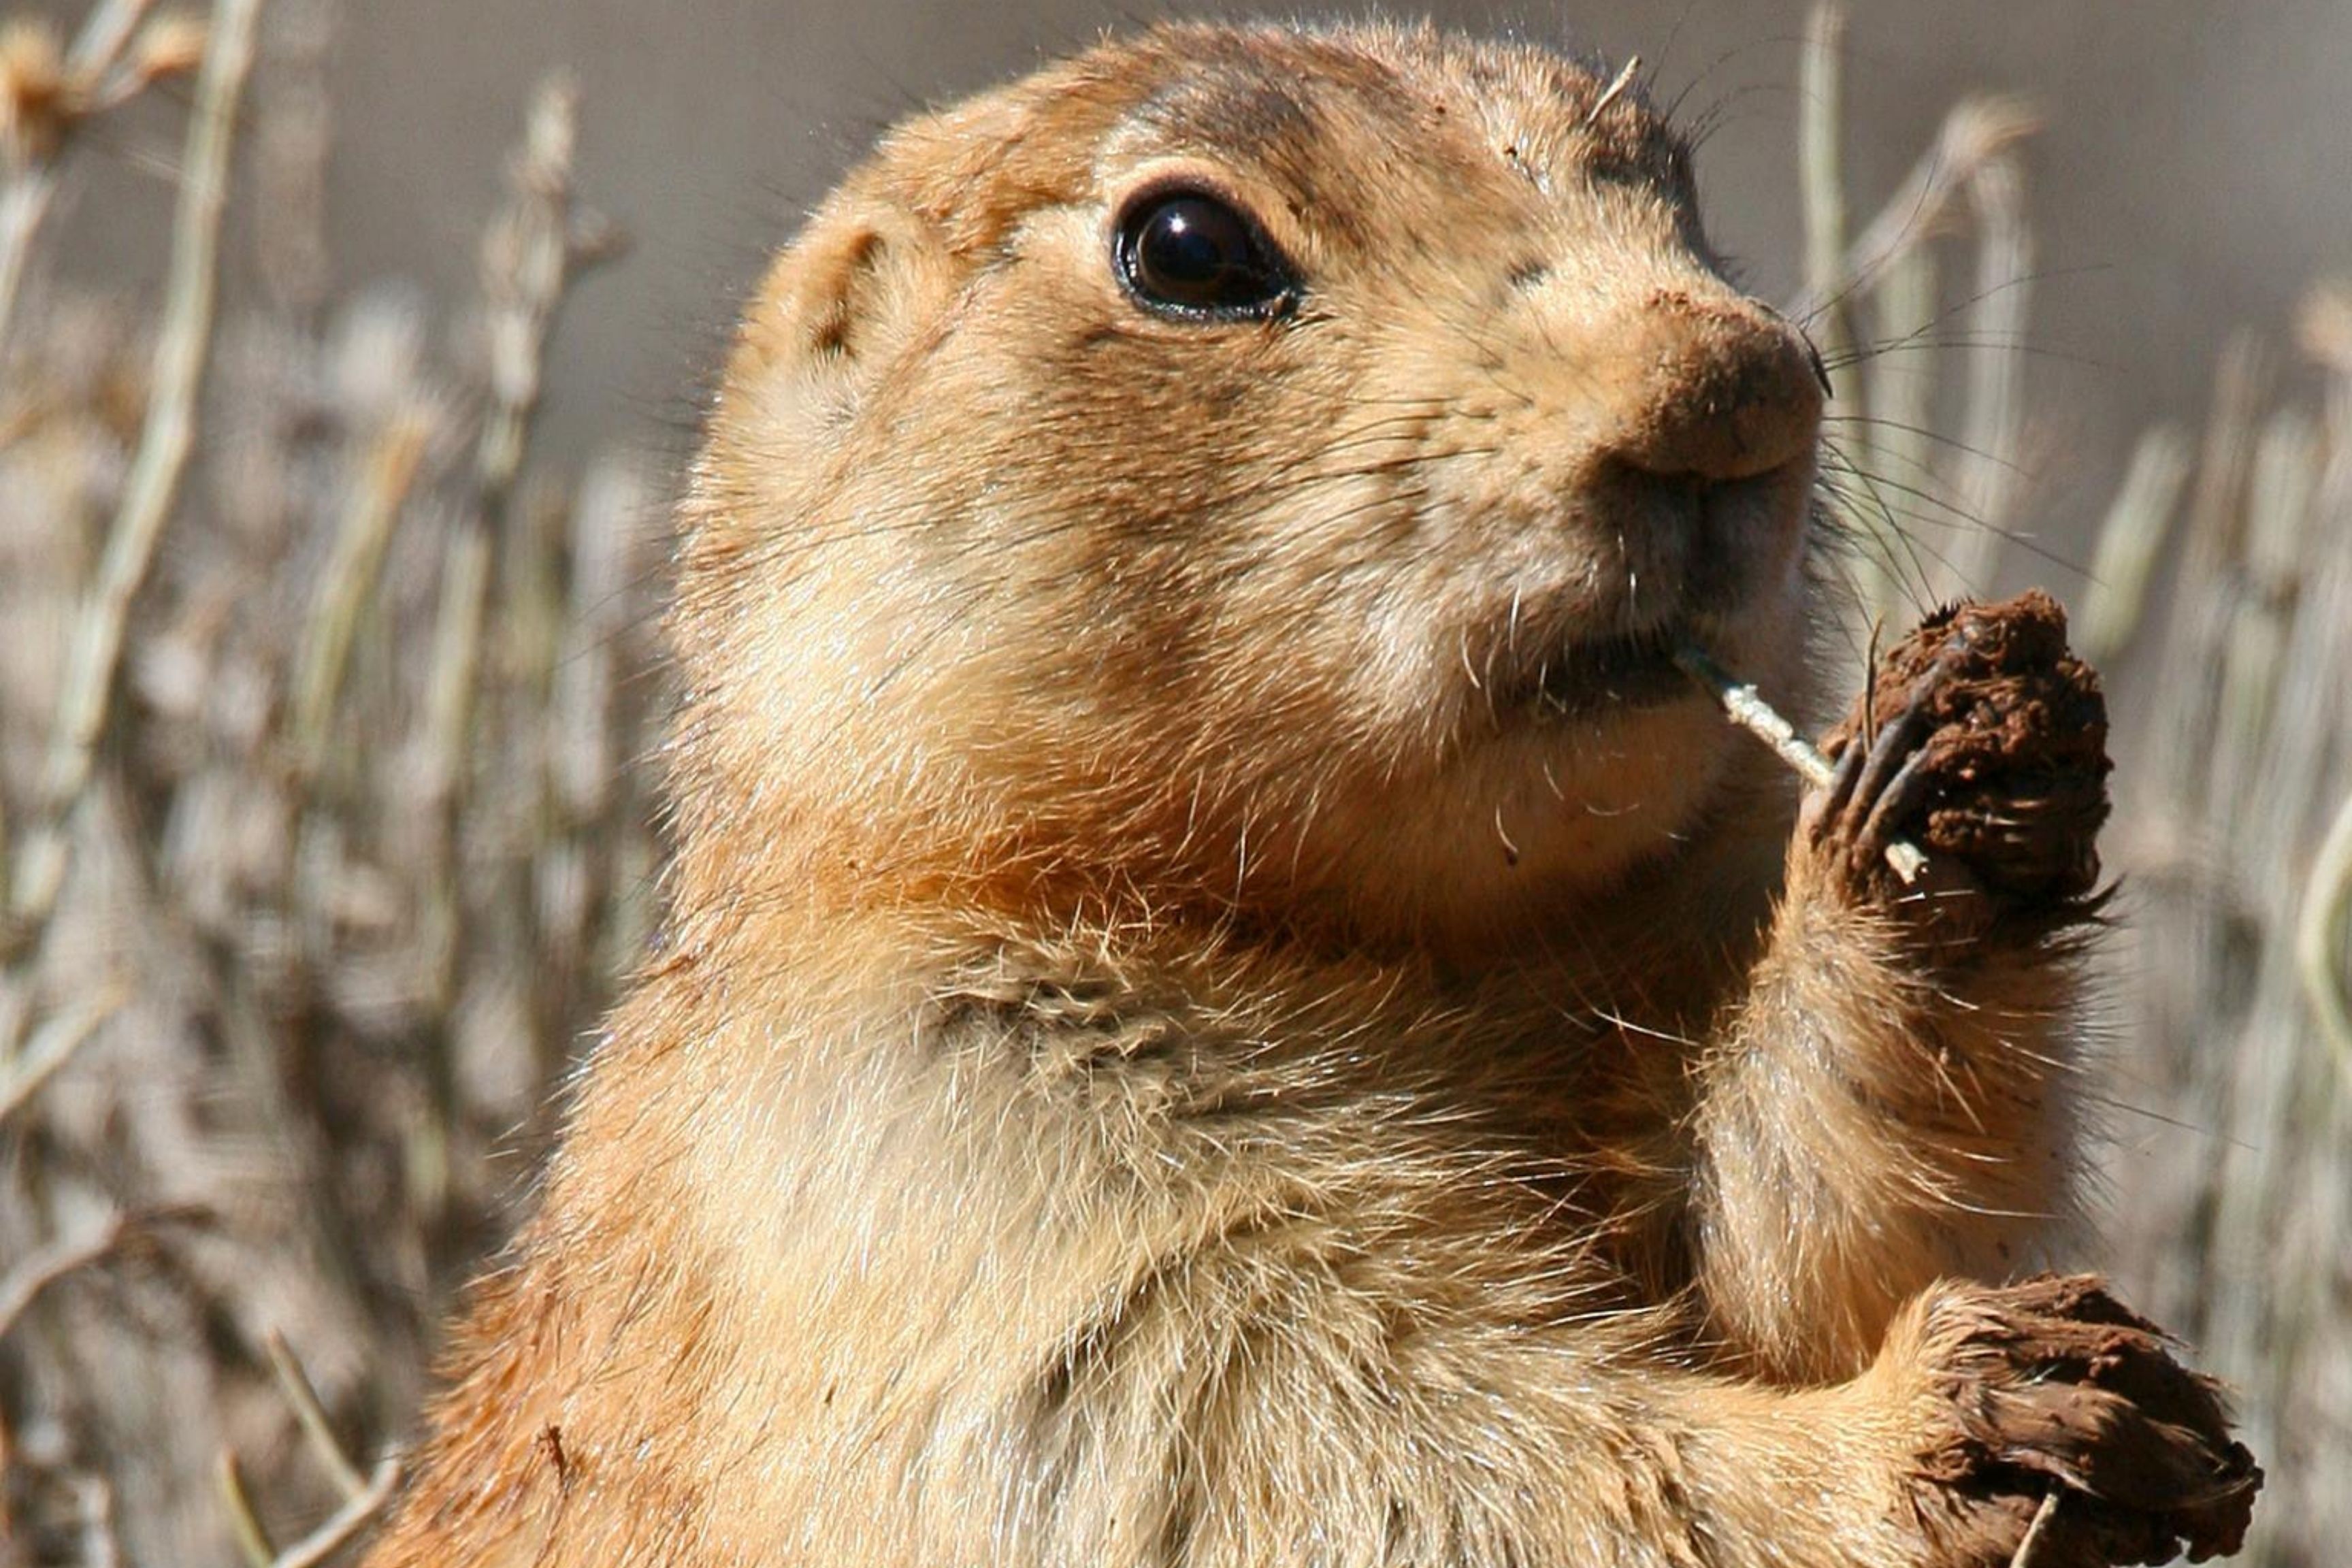
Bryce Canyon is home to large colonies of Utah prairie dogs, a threatened species. You’ll likely be able to catch a glimpse of them in meadows.
The park also has International Dark Sky status, which means it’s protected from light pollution and is an optimal spot for stargazing. Look up at the night sky and take in the unobstructed Milky Way.
My Itinerary
There are several backcountry campsites along the trail, allowing you to customize your itinerary for this point-to-point trail.
I arrived in the late afternoon my first day, so my trip went as follows: Day 1: Bryce Point to Right Fork Yellow Creek (3.4 miles); Day 2: Right Fork Yellow Creek to Natural Bridge (11.7 miles); Day 3: Natural Bridge to Yomvipa Pass (13.4 miles); and Day 4: Yovmipa Pass to finish (1.7 miles).
My total mileage was 30.2 miles.
This pace allowed me to take my time and appreciate the sights while also covering decent ground each day. There are no massive ascents, but there are frequently elevation gains of several hundred feet that will definitely get your quads burning a bit.
This itinerary also allowed me regularly spaced access to water, which is not plentiful on the trail. I filled up at Yellow Creek and Sheep Creek, and pulled from the snowpack along the trail.
Alternate Route
Another possible itinerary (especially if you showed up early the first day) would be: Day 1: Bryce Point to Yellow Creek (5.4 miles); Day 2: Yellow Creek to Natural Bridge (9.7 miles); Day 3: Natural Bridge to Coral Hollow (11.4 miles); and Day 4: Coral Hollow to finish (5 miles).
Total mileage is 31.5 miles following this itinerary.
Logistics
Permits & Transportation
All overnight stays in the backcountry require a permit. You can reserve the permit online. However, you must pick it up in person at the Visitors Center on the day your trip starts, at least 1 hour before the building closes.
A bear canister is required for camping. If you do not have one, the Visitors Center will loan you one free of charge. Be sure to start the hike with several liters of water (at least 3), and talk with the ranger about current water reports when you pick up your permit.
Hikers who are backpacking overnight and leaving a vehicle at the trailhead will also receive a parking pass to display on their car.
As with any point-to-point trail, there’s the thorny question of how to get back to your car at the starting point. While there is a free park shuttle at Bryce Canyon, it does not go all the way to Yovimpa Point. If you’re with a group, you can use the standard two-car method (drop one car off at the end and take the other to the start point).
If you’re by yourself, like I was, your best bet is booking a shuttle. I arranged for a shuttle through Bryce Canyon Scenic Tours & Shuttle to pick me up the morning I finished the hike at Rainbow Point, and then drive me back to my car at Bryce Point. This cost $63. While a bit pricey for just an 18-mile ride, it was prompt, reliable, and got the job done.
When to Go
I completed my hike in mid-April. The first three days were lovely and sunny, with temps in the mid-60s. I hiked in shorts and a T-shirt and barely needed my sleeping bag at night. Then, on the fourth day, I woke up to the ground (and my tent) blanketed in several inches of snow.

The lesson? If you hike in the shoulder seasons (April or October), be prepared for sudden weather changes and bring ample layers. Temps in the summer can reach into the 80s, and water sources are less reliable, so most hikers try to skip those months.
Your best bet for backpacking comfortably in Bryce is during the shoulder season. You just have to be OK with a bit of precipitation. May and September offer the most ideal conditions. But go prepared, no matter when you’re visiting. As I experienced, this part of Utah is prone to drastic weather and temperature swings.
Safety
As in any wilderness area, there are several potential hazards in Bryce Canyon National Park, so it’s best to be prepared. Be sure to bring proper footwear with good traction; park officials state that falls from inadequate footwear are the number one reason for rescue calls in the park.
Almost every year, unfortunately, someone dies at the park from going off-trail or going beyond a safety railing and falling. As with every hike, be sure to stay on marked trails.
Dehydration and lack of preparedness for extreme weather are two other major reasons people call for rescue in the park. The difference between the highs and lows each day can be up to 50 degrees, so this is not the hike to skimp on layers to save weight; be safe and bring that extra jacket.
This trail isn’t the best-marked one I’ve ever experienced. A multitude of trails cross the park, and at times, it was very confusing. At one point, I got turned around and had to loop back, adding an extra mile. Be sure to bring a detailed map.
Who Is This Hike For?
If you’re visiting Bryce Canyon and want to make the most out of your time, and really see the park beyond what’s available from the road, this hike is the ticket. As a solo traveler, I felt perfectly safe doing this hike alone. It was also an oasis during an extremely busy spring week in the park. I only saw two other backpackers the entire time.
Given the lack of signage and moderately challenging ascents, I wouldn’t recommend this for true beginners. If you’ve got a couple of overnight or weekend backpacking trips under your belt, though, you should be able to take on this trail.
Gear to Bring: Bryce Canyon National Park
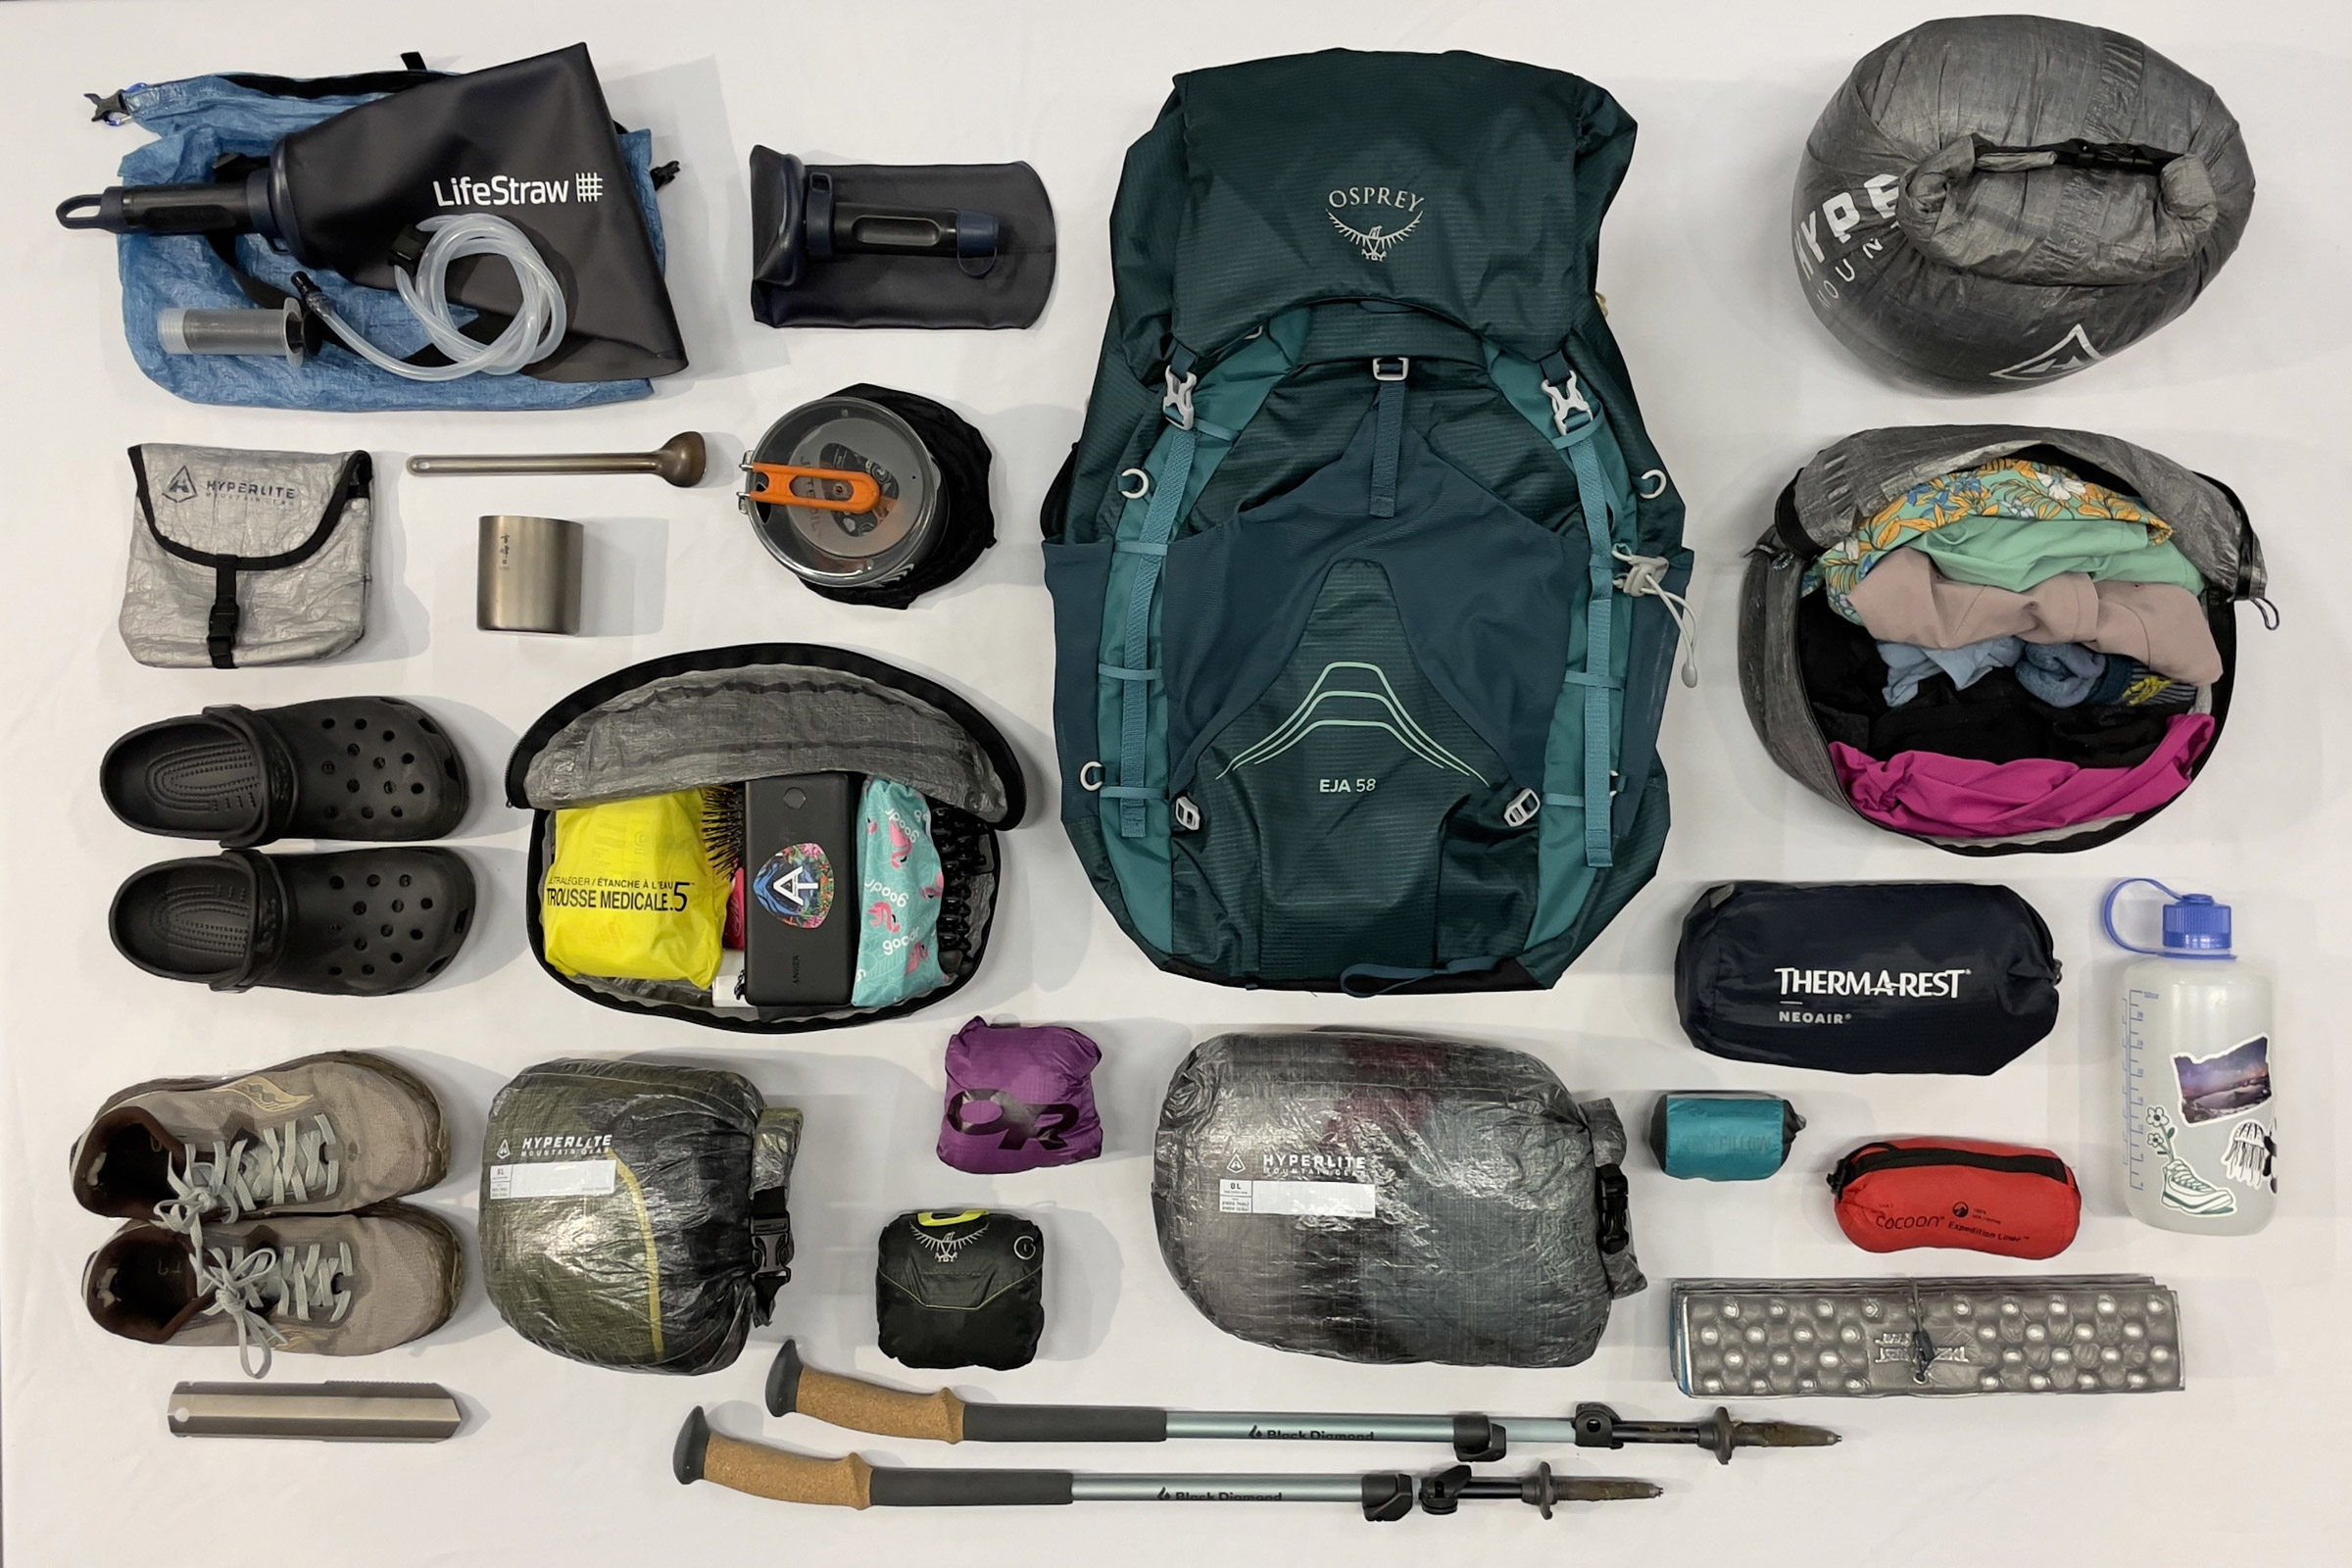
The gear list for this trip in Bryce Canyon is similar to most backpacking trips. As mentioned, sudden and severe weather changes and storms are common. Check the weather regularly before your trip to make sure you have the necessary gear for the conditions you’ll be hiking in.
Read the full article here