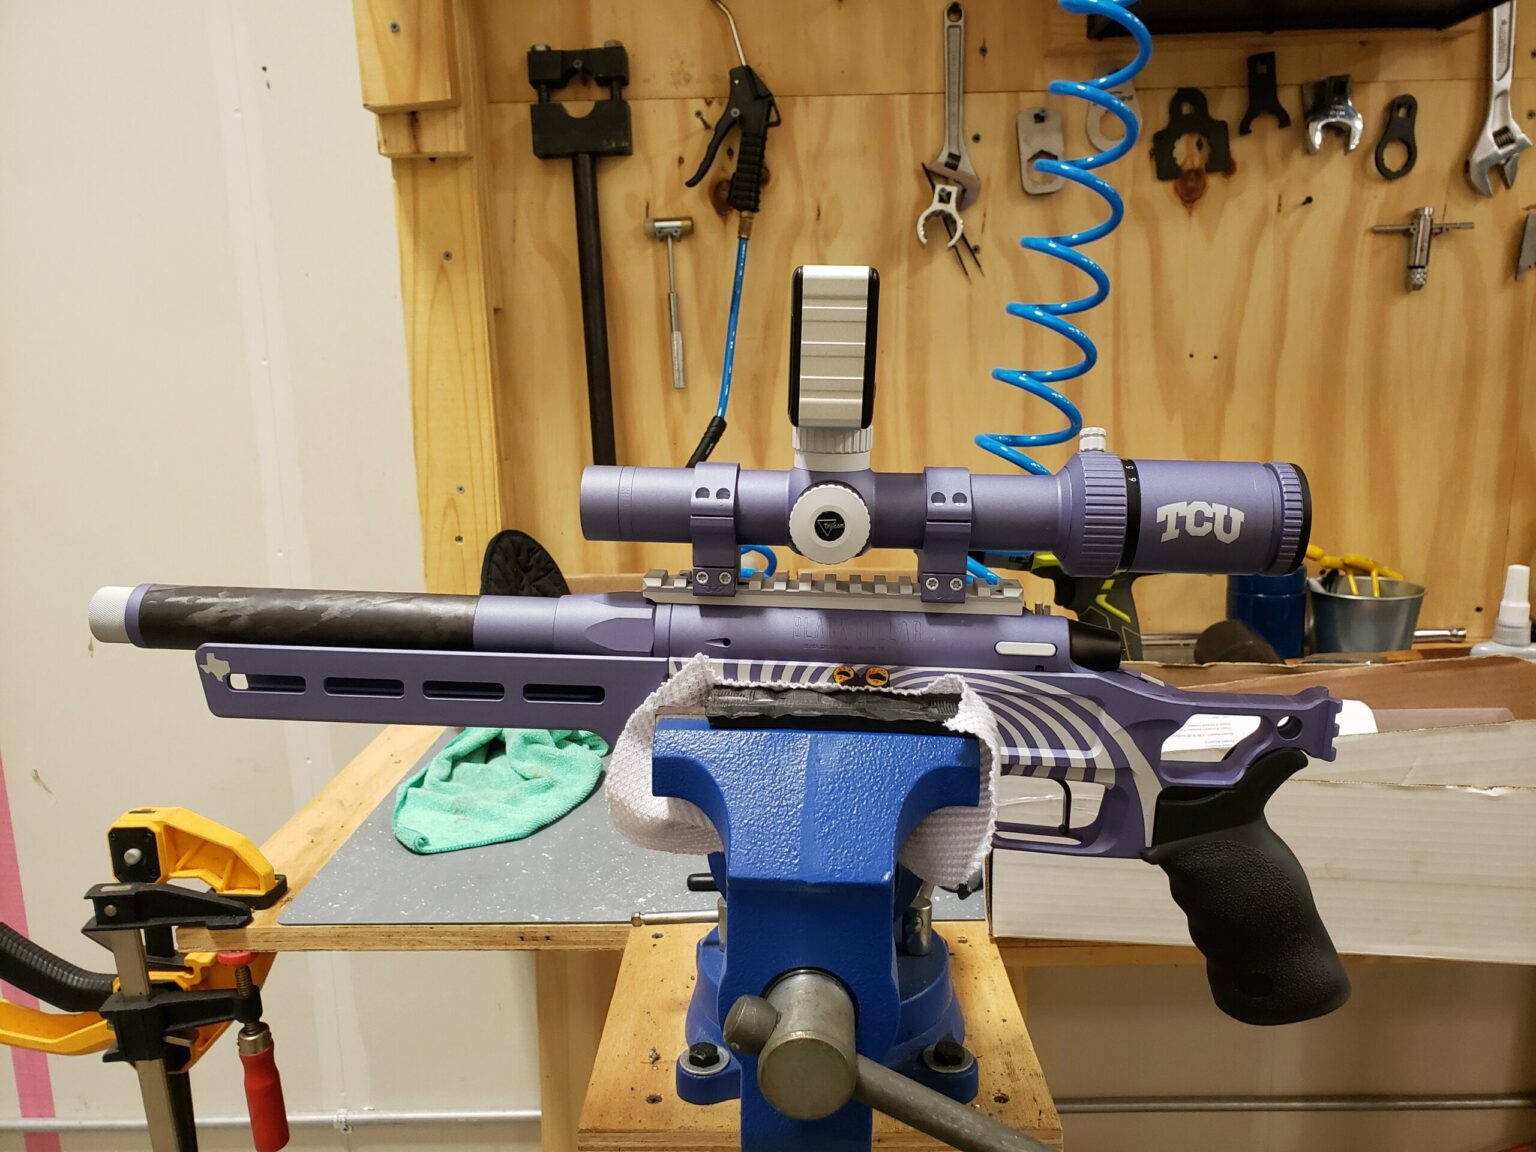
While there are dozens of products available to help you mount your scope in perfect alignment with your rifle, there’s one that I’ve used for many years that’s cheap, simple, and extremely effective. This is how to level your scope the easy way.
Step one: buy a digital protractor. The one seen in this article is available via Amazon HERE, though I bought it maybe eight years ago and, were I doing it today, I’d probably buy THIS ONE. They’re both in the $20 to $25 range, but if you look at all the digital protractors on Amazon you can spend anywhere from about $14 up to like $500.
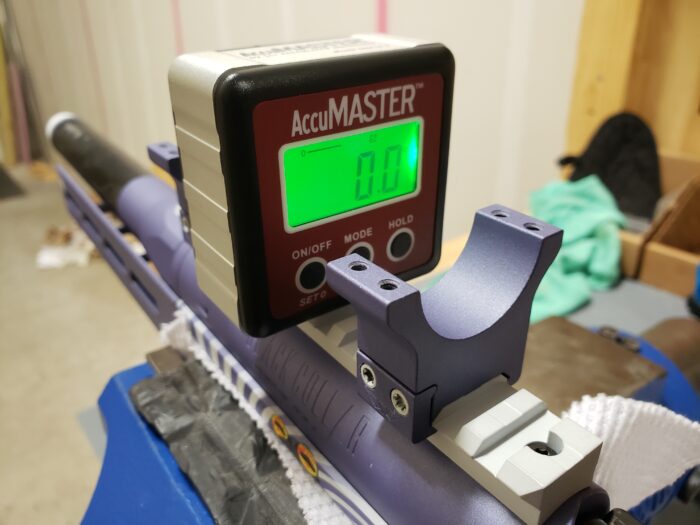
I found two features the handiest to have: a button to zero out the tool and a magnetic bottom so it sticks to whatever you’re measuring (well, given that it’s metal that attracts a magnet). From what I’ve seen, basically every digital level / digital protractor offers these functions.
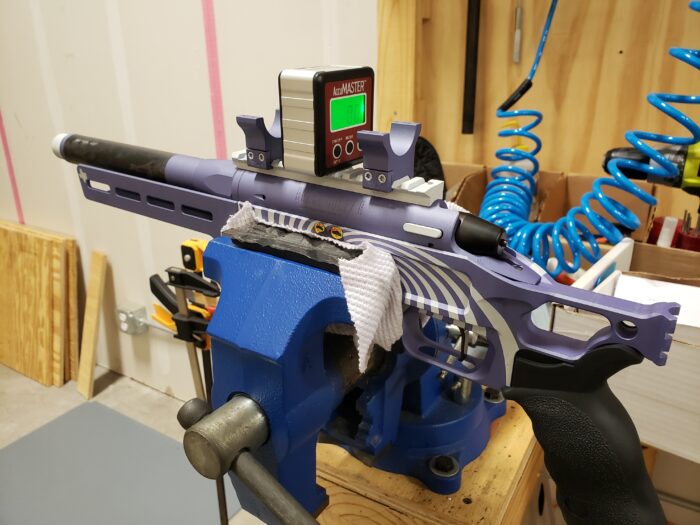
Actual step one: your firearm needs to stay dead still during the scope mounting process. The best way is to chuck it up in a bench vice. It doesn’t actually matter if the gun is level, but it does matter that it stays as-is from start to finish. At home I’ve done this process with my rifle strapped into a rifle rest or simply on the floor resting on its bipod, as long as it’s a steady bipod.
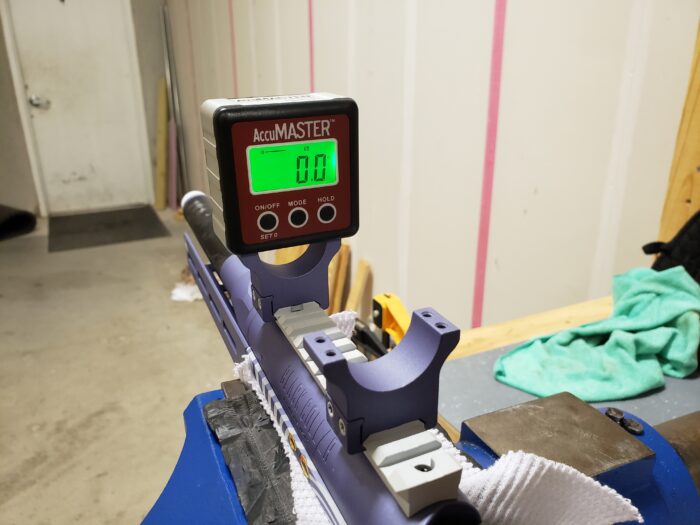
Step two: find a flat, level surface on your firearm on which to place the digital protractor. This is typically the picatinny optics rail, but may be the base of your one-piece scope mount or across the tops of scope rings as seen above. If you’re doing it across a scope ring, make sure the base of the ring is fully tightened onto the firearm first (it may not be level before it’s snugged down).
Zero out your level. Technically speaking this isn’t strictly necessary, but it’s a lot easier to remember 0.00 than whatever random angle your rifle is at when you later go to match your scope to that same angle.
To be clear, again, you don’t need to get your rifle level. If you put the protractor on and it says your rifle is at a 2.9-degree angle or a negative 9.2-degree angle, that’s fine. Just zero out the protractor. What we’re doing in this whole process is matching the angle of the scope to the angle of the rifle so the scope’s reticle is square with the rifle (I get into the “why” of this at the end).
Note that, as I took these crappy cell phone photos, I didn’t re-zero my digital protractor after moving it from the optic rail to the top of the scope ring. While I’m sure on some firearms with some rings, etc., you’ll find a very slight difference measuring across one vs. across the other, most setups should be square in this regard. In the case of the Black Collar Arms Pork Sword Pistol with the wild TCU custom Cerakote job and whatever rings these were that the customer provided, 0.0 degrees across the rail was matched with a 0.0 degree reading across the rings.
Set the protractor aside, but leave it on. As in, do not turn it off or let it time out and turn off on its own. You want to save that zero you set.
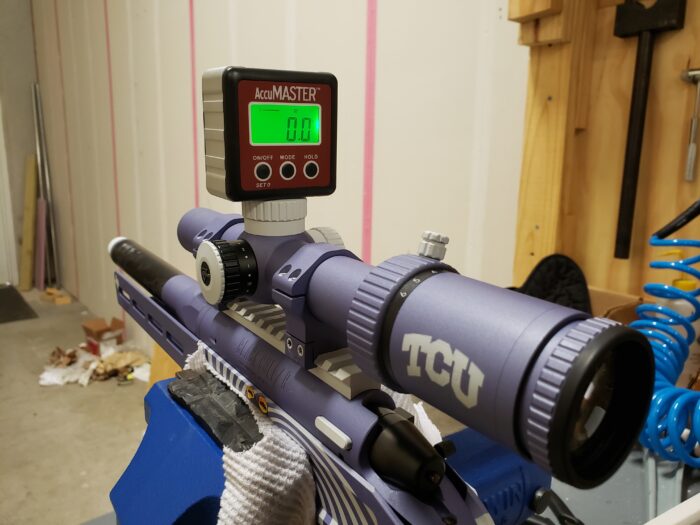
Step three: add the scope (don’t forget to adjust it forward/backward for correct eye relief), add the scope ring caps, and tighten the screws on the scope ring caps until there’s a little bit of resistance to rotating the scope but you’re still able to rotate it.
Find the flattest, squarest surface on the top of the scope. This is almost always the top of the elevation turret. It may be the turret cap, or it may be the turret itself. If you do have a turret cap (like on this scope) I recommend removing it to see if the turret underneath offers a flat surface. Better to do it on the actual turret than the cap, when possible. Double check that the cap is snug if you’re going to measure off the cap.
Place the digital protractor level on top of the turret or other flat surface in such a manner that it gets a proper reading. What it’s now doing is displaying the angle of the horizontal reticle line in the scope as it relates to the zeroed-out angle of your rifle.
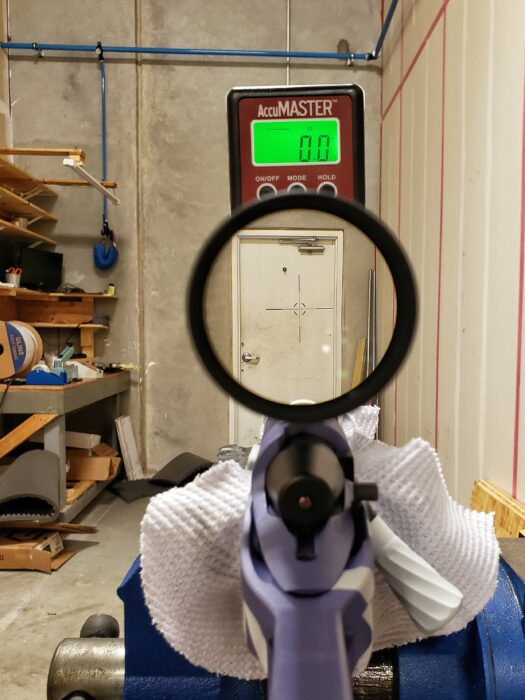
Rotate the scope until your protractor is zeroed out.
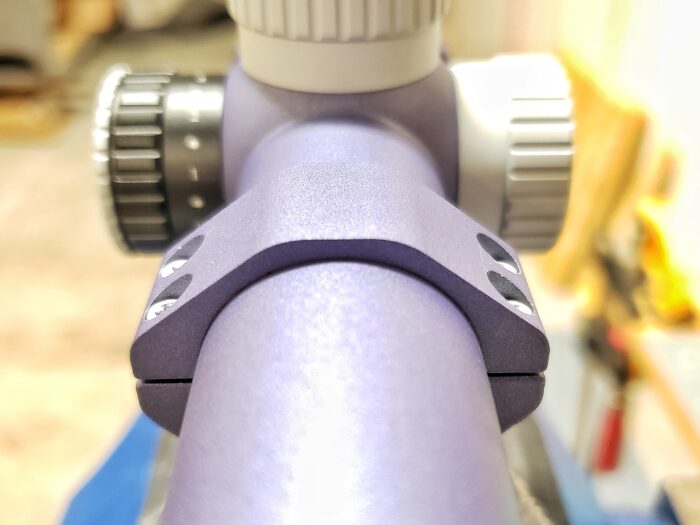
Ridiculously easy, right? Well, now’s the hardest part of this easy process . . .
Step four: tighten the scope ring caps. You want to do this in a criss-cross pattern like with lug nuts, tightening each side a little at a time until you’ve reached the correct torque spec with even pressure on both sides and even gaps between ring cap and ring base on both sides, as seen above.
Here’s the hard part . . . sometimes when you tighten down the screws it’ll cause the scope to rotate. You may drive yourself crazy if you’re driven to achieve a 0.00-degree reading on that protractor. Allegedly the human eye can’t even pick up an angle until you’re a couple tenths of a degree off, so just do your best here and don’t sweat a small imperfection unless you’re planning to shoot ultra long range and dial for your targets.
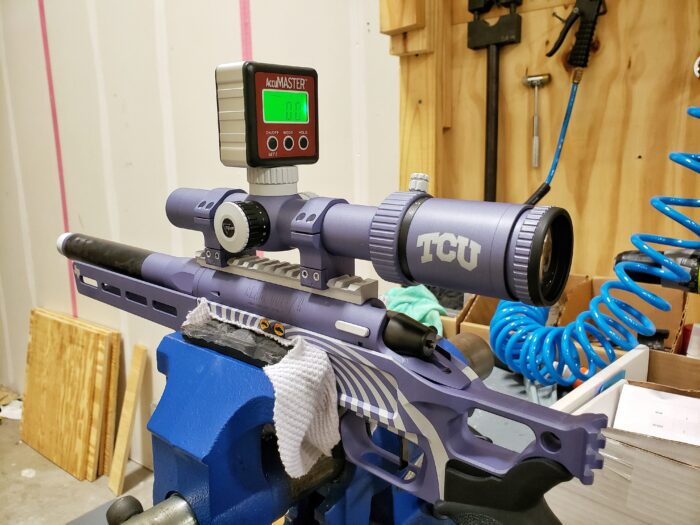
And dialing for targets at range, good readers, is why your scope and your rifle need to be in alignment. If your scope is canted, even slightly, it means that when you adjust for elevation you’re also going to slightly and unintentionally adjust your windage, and vice-versa. When you click that elevation dial you want the adjustment to happen in a perfectly, exclusively vertical plane.
Heck, even if you use lines etched into the reticle to hold off for elevation or windage, if your reticle is canted in relation to the gun then your holds aren’t going to be quite accurate.
When we look through a reticle with a crosshair we naturally want to align it visually with objects that we “know” to be vertical or horizontal, like trees or water. If the reticle and rifle aren’t aligned, the shooter’s tendency will be to cant the rifle so the reticle is aligned correctly. This will pull shots left or right if the firearm was zeroed while level.
Also, it just looks and feels good! When you put that rifle into your shoulder pocket and you know it’s good and level, you want to see a scope reticle that’s also good and level.
A digital protractor is the easiest and most precise way to do this. Go forth and order one up today. Obviously they’re also extremely handy to have for all sorts of other projects, like leveling shelves, art, and other stuff you hang on walls, leveling tables, measuring the angle of a saw blade like on a miter or circular saw (this is what they’re typically marketed for), sticking it to your dash so you know if your jeep is about to tip over, and so much more.
Read the full article here


